If you want to create good looking documents on your Mac, you basically have three options:
LyX is a front end to TeX, which is a computer implementation of the rules typesetters have been working by for centuries. By using LyX you can be sure that your documents look good.
So what do you sacrifice? Well, think about it as leaving your manuscripts to type-setting. Typesetters know what they are doing, but tend to have strong opinions. So if you want to have complete control on the layout you are in for trouble...
If that does not scare you off, continue for a guide on how to install and run LyX on the Mac.
A Mac with OSX 10.3.9 or 10.4 (this demonstration was made with 10.4.4)
About 300 MB of free hard disk space (the installation is big, but the files you create will typically be small.)
Broadband
Administrative rights to the account
Download i-Installer
Unpack by double-click (unless automatically done)
Open the Applications folder and then the Utilities folder and drop i-Installer there (technically you can place it anywhere you like, but if you place it here and forgot where it is, just E-mail me and I will tell you...)
Open i-Installer
Click Dismiss on the splash-screen
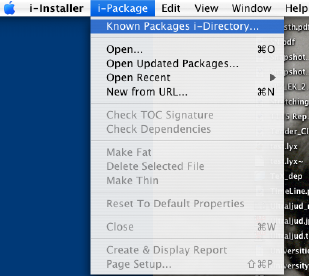
Chose i-Package -> Known Packages i-Directory...
You will be prompted for your password.
After each package has been installed, close the window (i-Package->Close)

Time for installations on my machine (which has 100 Mb ethernet connection) and comments:
FreeType 2 -- 20 seconds
libwmf -- 20 sec
PNG Library -- 10 sec
Ghostscript 8 -- ≈1 min
Add /usr/local/bin to CLI environment: choose "Yes"
ImageMagick -- 1.5 min
FontForge -- 20 sec
Fondu Mac Font cli Tools -- 10 sec
TeX -- 15 minutes
Install type -- choose Basic
Which version? -- Choose the preselected
Type your password when prompted. Then there's a huge download, but you can keep track on the progress bar and predicted time for each package
Type your password when requested again and take another coffee break
Select the Paper size you like. Take a third coffee break.
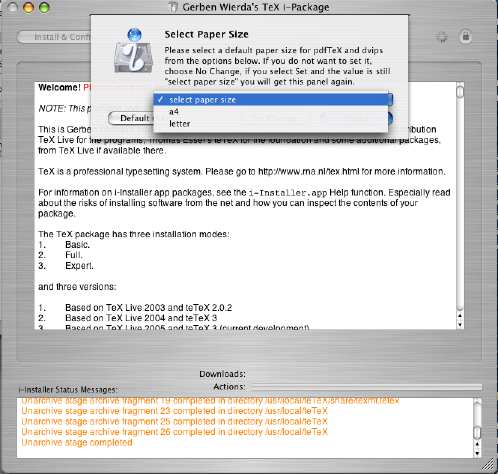
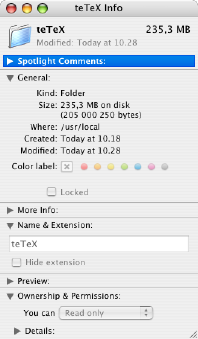
If you like to see what has happened, select the Finder and choose Go-> Go to Folder... (or press Cmd+Shift+G). Type /usr and return. Select local and then teTeX. This is a directory that contains roughly 235 MB, which has been installed by the i-Installer. Normally you are not supposed to mess with this directory (but there are exceptions as we will come to).
They contain instructions on how to typeset documents. The additional packages you installed contain instructions for tasks related to this, such as converting image files to a format that can be used by teTeX.
Now you can use teTeX to create documents straight away, but unless you
feel like writing input files like:
\documentclass{article}
\title{Cartesian closed categories and the price of eggs}
\author{Jane Doe}
\date{September 1994}
\begin{document}
\maketitle
Hello world!
\end{document}
and typing some commands in the Terminal to get the corresponding pdf-document, LyX is your choice.
We will come to how you install LyX shortly, Let's just conclude by saying that you have installed a package that LyX will need to help you create nice-looking documents. How it works is something you actually don't have to worry about, although I can promise you that you will probably want to tweak the inside sooner or later. But that's another story.
Now it's time for the easy part: installing LyX.
Go to http://wiki.lyx.org/LyX/LyXOnMac and install the latest version of LyX (this introduction uses LyX1.4pre5, but when you read this 1.4 should be out).
Unpack and mount the disk image (by double clicking) if this is not done automatically.

Print or save the pdf-files. In particular "mac-bind.pdf" is useful since it contains keyboard shortcuts that will speed up your work considerably once you get used to LyX.
Follow the instructions, i.e. Drag the application to the Applications folder.
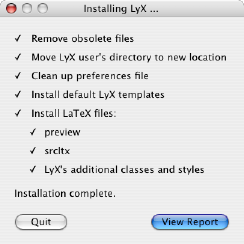
Run the install script by double-clicking. Select "Install". Provide your password when prompted (you need administrator rights).
Note that you have to run the install script for every account that uses LyX. The easiest way to do this is probably to run the install script in the first account, move it to the /Users/Shared folder (click your Disk icon, then Users, then Shared). Log in as a new user and run the installation script from the /Users/Shared folder from that account.

Now you are done with the installation of LyX.
The install script has created a directory "LyX-1.4" in the
directory "Application Support" which is in the directory "Library" in
your home directory. In that folder the script has placed some
templates and other stuff.
It has also put some templates in
/usr/local/teTeX/share/texmf.local/tex/latex/lyx/ this is deep into the
directory that was created by the i-Installer for the TeX-installation.
The easy answer is that the templates in the "Application Support" folder control what you will see on the screen when running LyX. The templates installed deep in the teTex folder controls what you will see on paper when you print your document.


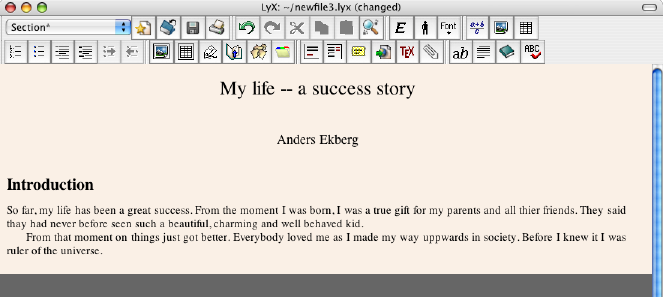
Now the text you have written doesn't look fancy at all. LyX uses a
bare-bone approach and just shows you what you really need to see.
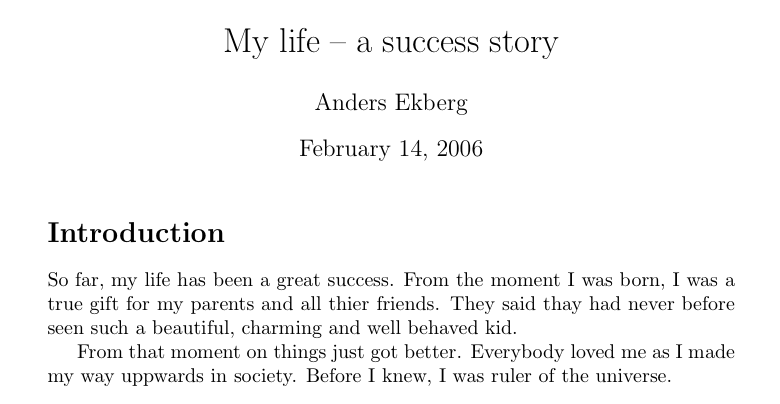
Let's look at what will appear on paper:
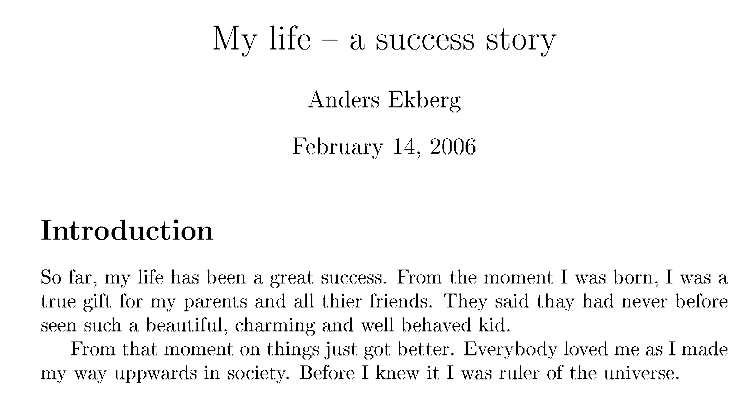
Now this actually looks like crap. The reason is that the fonts used are bitmapped, which doesn't come out good on-screen (much better on paper). We need to do something about this:
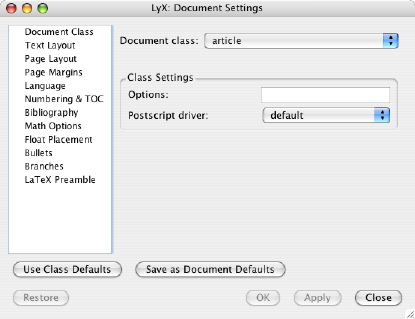
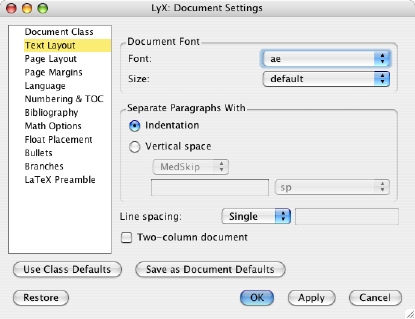
Now there are a bunch of other settings you can alter, such as
document class (try for instance article (koma-script)), margins, etc.
But this introduction will not delve in details on formatting. Those
you can find at http://wiki.lyx.org/LyX/Documentation. Instead we will
look closer at some more Mac-specific aspects in a later part.